Teaser
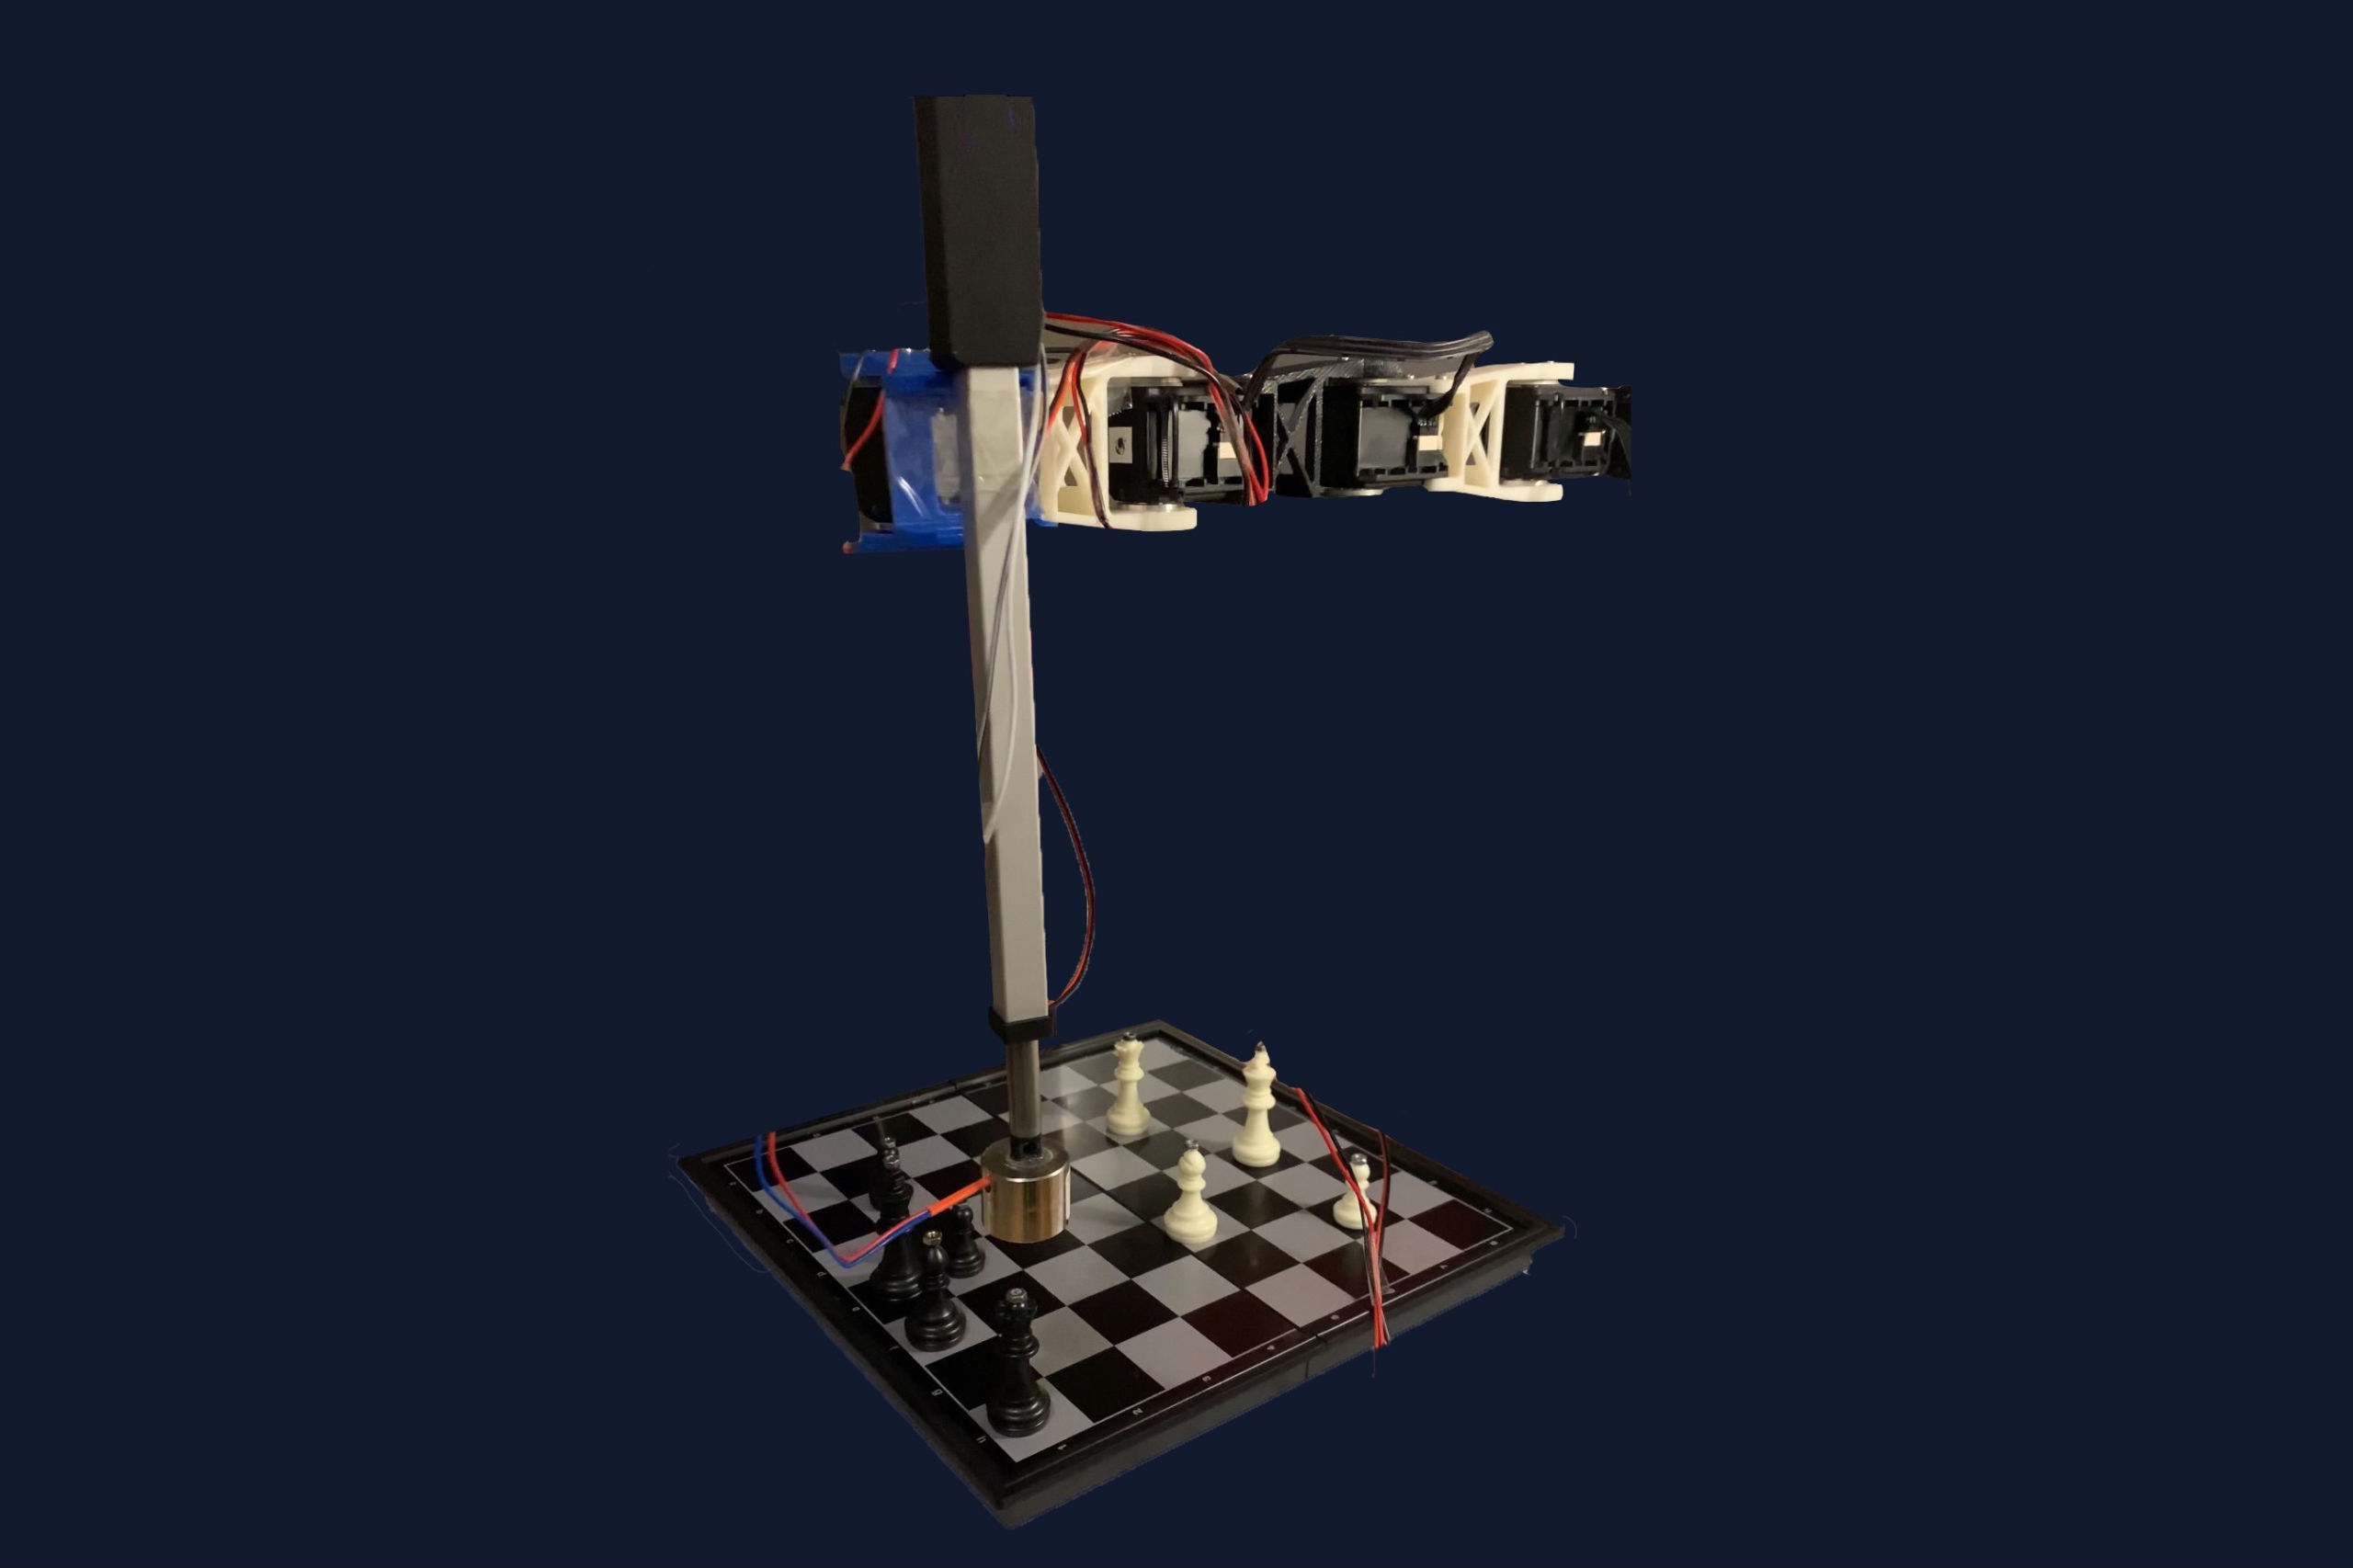
Deeper Blue, named after IBM’s original machine Deep Blue, is a semi-autonomous chess-playing robot. Deeper Blue autonomously plans its next move, uses computer vision to detect the human player’s move, and has a robotic arm that uses an electromagnet to grab and place pieces. The robot is demonstrated to be able to play chess both strategically and physically against a human player for a full game. During the COVID lockdowns, this robot can be a good choice for people to keep their minds active and engaged every day.
Introduction
Deeper Blue, named after IBM’s original machine Deep Blue, is a semi-autonomous chess-playing robot. Deeper Blue autonomously plans its next move, uses computer vision to detect the human player’s move, and has a robotic arm that uses an electromagnet to grab and place pieces.
Project Demonstrations
Technical Objectives
- Accurately move the arm to consistently be able to accurately go to a desired position, specifically within 5 millimeters.
- Grab and place pieces accurately at desired locations, and move them off of the board for captures, without colliding with any other pieces.
- Use computer vision to detect where the human moved.
- Each move should be completed within 2 minutes.
- The system should be able to consistently play a full game of chess against humans without crashing.
Project Architecture
Mechanical Setup
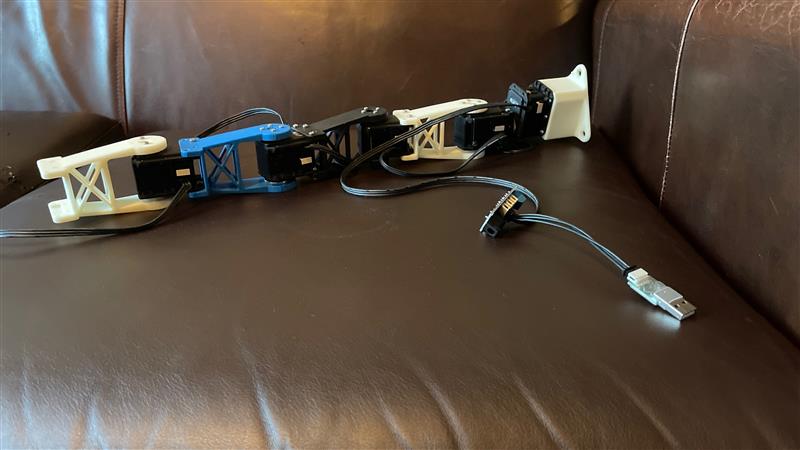
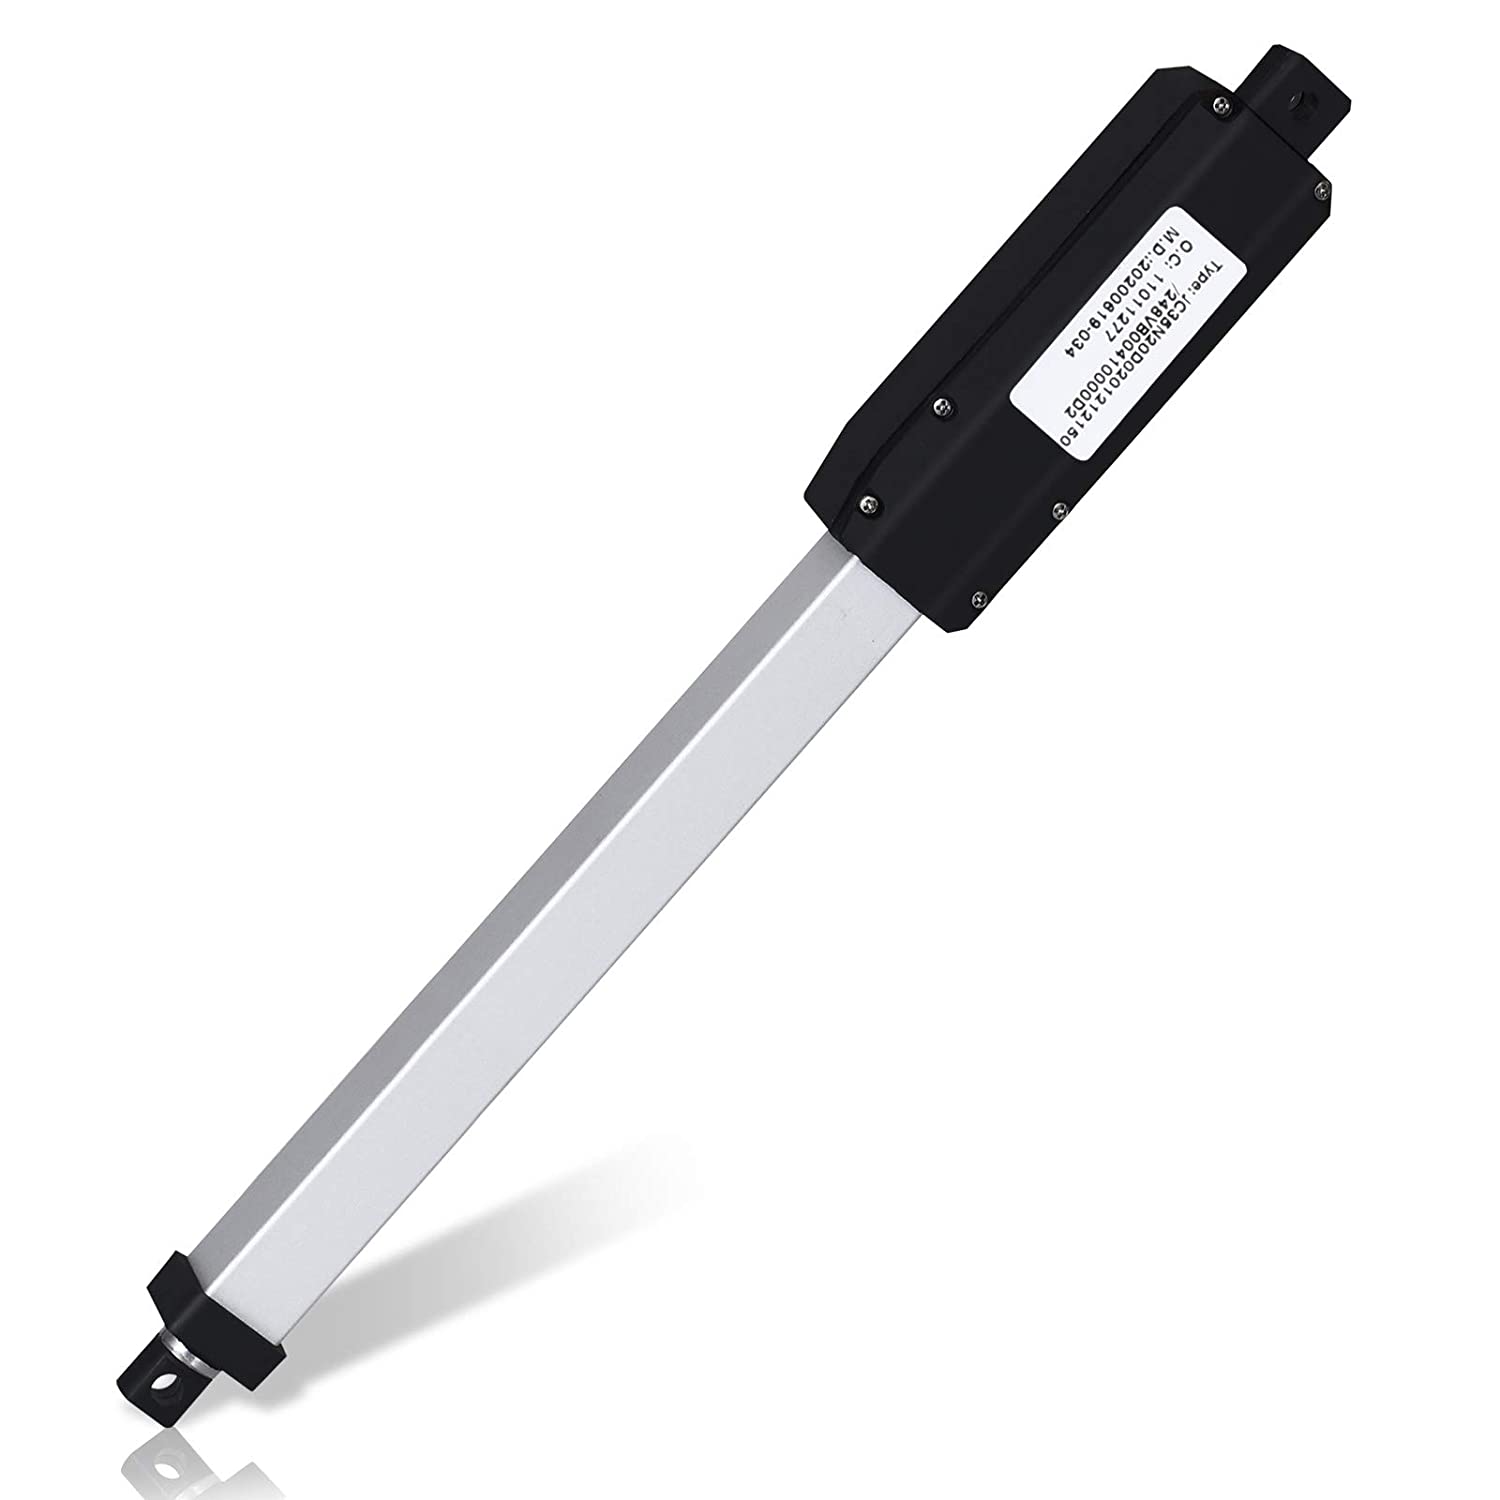
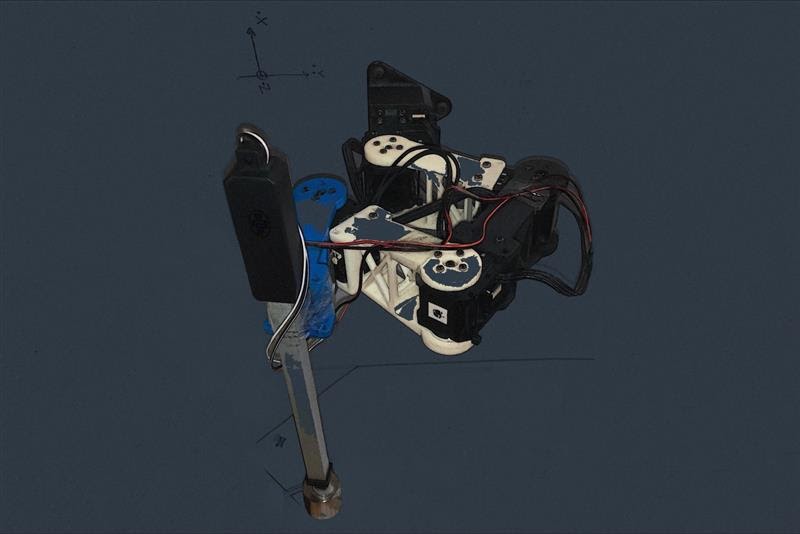
We used a RexArm with 4 servo motors, connected by 3d printed links. The arm had a total range of ~30cm which allowed us to reach every position on the board. On the end of the arm, there was a linear actuator with an attached electromagnet to pick up our chess pieces, which have magnetic nuts attached to their tops. The linear actuator raises and lowers the electromagnet to grab and place the pieces.
Control
To set the correct servo angles to go to a location, we used gradient-descent to compute the inverse kinematics and determine the joint angles. Because our linear actuator had no feedback and had a consistent velocity when connected to the wall, we used a time-based control scheme on the linear actuator for grabbing and placing the pieces. Each piece had a different height, so we kept track of the board’s state at all points in time and adjusted the timing based on the piece type.
Computer Vision
The computer vision was done by adding colored tape to each piece, yellow tape on the white pieces and blue tape on the black pieces. We added the tape to be able to consistently detect where the pieces were located on the board, with much less variability coming from environmental factors such as brightness, light color, and shadows.
The steps for the initial setup process before running the first time are as follows:
- Calibrate the camera to the board and compute a homography matrix.
- Convert the camera feed into the Hue-Saturation-Value (HSV) color space to make it easier to distinguish individual colors from each other.
- Calibrate the minimum and maximum values for each channel of the HSV image to accurately detect blue pieces; repeated for the yellow pieces.
After initial calibration, our computer vision algorithm uses the following steps:
- Use the homography matrix to take the image from the camera (that contains the chess board) and extract a top-down view of the board.
- Convert the newly-constructed image to HSV.
- Use the minimum and maximum values specified for each channel to identify which squares contain yellow pieces; then repeat for blue.

Main Process
- (Human) Setup the chess board with all pieces in the correct position.
- (Computer) Capture an initial image of the board.
- (Human) Make a move, press a key when the move is complete.
- (Computer) Capture a new image of the board.
- (Computer) By comparing the two captured images, determine where the human moved and update the internal board state (see above).
- (Computer) Compute a new move.
- (Computer) If the move is a capture, grab the to-be-captured piece and place it outside the board.
- (Computer) Grab the to-be-moved piece and place it into its new position.
- Go to Step (2) until the game is complete.
Prototype Implementations
Arm
We used a slightly modified RexArm with four 3d-printed links between each joint (servo). We purchased a linear actuator with a 6 inch stroke length that moved 0.6 inches per second to move the electromagnet up and down. We also used a magnetic chess board to help keep all of the pieces more stable, and to make sure that if we dropped pieces from slightly above the board that they would not topple over. To assist with our grabbing/placing accuracy, we added a moderately rigid paper cylinder, with cuts around the very bottom to give it more flexibility around the end of the electromagnet. This helped to constrain the pieces and align them concentrically with the magnet.
We also measured and encoded the different grabbing and placing times for each piece: Pawn, Rook, Knight, Bishop, Queen, King. With the precise timing the linear actuators can always extend/retract each piece precisely and the magnet can attract/release the piece neither too early nor too late. With accurate timing, the robot can grab/release different pieces accurately.
Control
To set the correct servo angles to go to a location, we used gradient-descent to compute the inverse kinematics and determine the joint angles. Because our linear actuator had no feedback and had a consistent velocity when connected to the wall, we used a time-based control scheme on the linear actuator for grabbing and placing the pieces. Each piece had a different height, so we kept track of the board’s state at all points in time and adjusted the timing based on the piece type.

Computer Vision
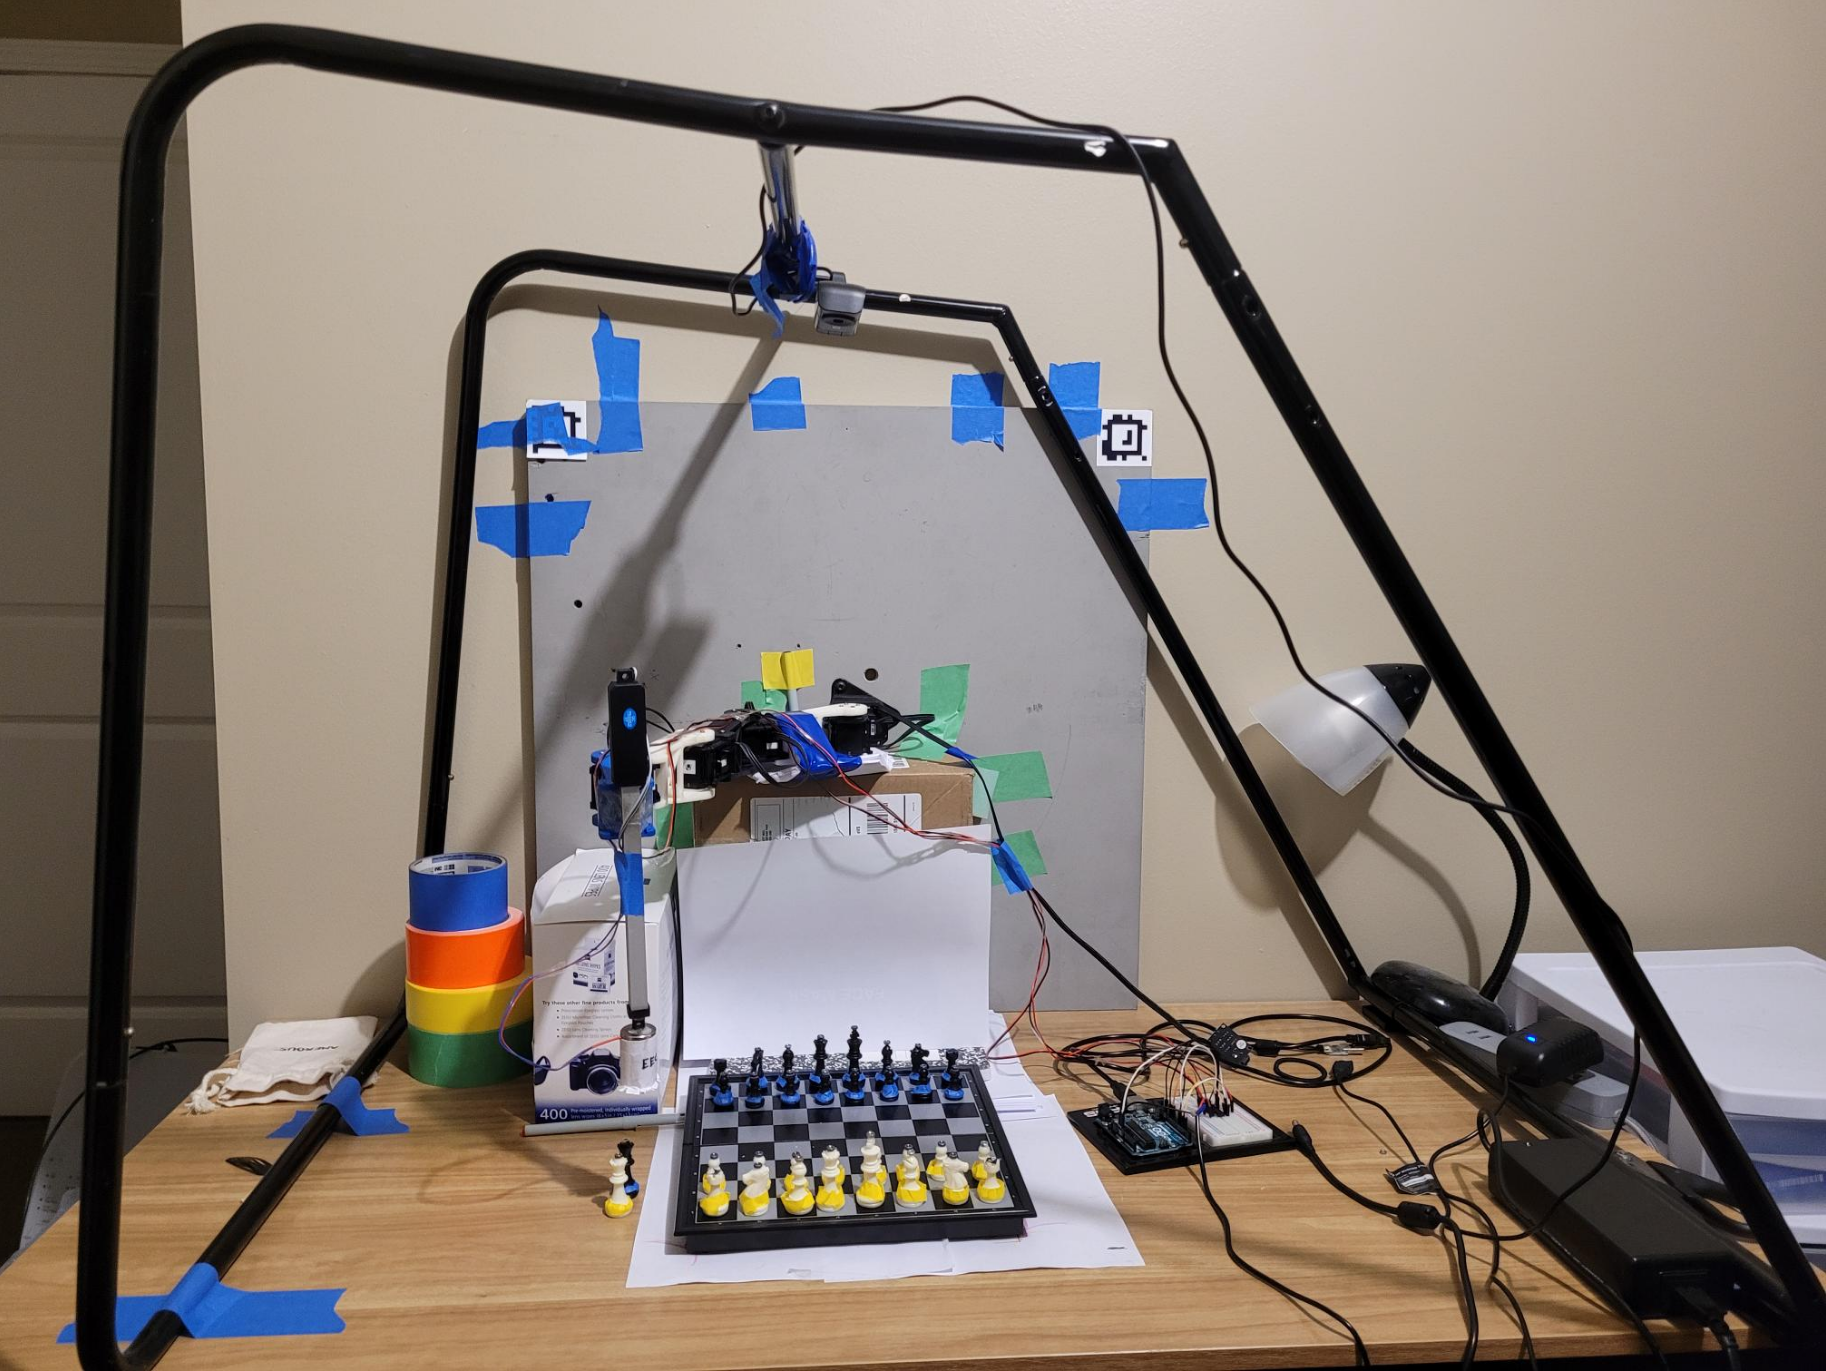
We used an HP HD-3310 webcam mounted to a custom frame to center it above the chess board. The webcam was attached to a main driver computer via USB. The USB port had to be forwarded into the virtual machine, and the correct port number within the virtual machine had to be identified before it could be used. It was necessary to mount the camera fairly close to being inline with the center of the board, despite using the homography matrix to get a top-down view, due to the significant height of the pieces and the occlusion that they would cause if the camera was far off center. The camera had to be mounted to a rigid frame to prevent any shifting of the camera relative to the board after calibration is completed.
Integration of the two systems
We integrated the arm system and the computer vision system into one robot system which is implemented in DeeperBlue.py. Due to the running environment restriction of the RexArm library, we ran the whole software on a Linux 18.04 via Virtual Desktop.
Testing & Evaluation
Arm Testing
We tested the accuracy and the robustness of our arm by using the arm to grab various pieces (from Pawn to King) from various sets of locations on the board. Specifically, we commanded the robot arm to grab the piece, move it diagonally (from location (a,1) to (h,8)), along a column (for example from (a,1) to (a,8)) or along a row (for example from (a,1) to (h,1)), and then place it in a cell. We validated that the arm can move and grab the piece from cell to cell with a locational accuracy error of within 30%. This error allows the computer vision to function properly and detect the correct piece at each cell without the use of much human correction. Besides the horizontal location accuracy, we have also tested the accuracy of the grabbing and releasing along the vertical direction and validate that the end link can grab and release the pieces with a success rate of above 95%.
Computer Vision Testing & Evaluation
To test the computer vision, we first used sets of prerecorded images with known moves to quickly evaluate the accuracy. Once the computer vision was working on our test set, we set up real boards and did live testing just having human move pieces, making sure to include kingside and queenside castling, en passants, captures, and poorly placed (relatively off-center) pieces in each test run. The computer vision was 100% accurate using the yellow and blue tape, after we fixed poor taping on the pieces and made sure to set the lighting correctly since our webcam has very poor dynamic range.
Integration Testing
To integrate the computer vision with the rest of the system, we first had to set up the camera and frame, and get everything connected to one computer. After this, we modified the main arm program, which had previously been using human input, to take input from the computer vision’s detection instead and programmed the arm to move away when the camera was taking images. We agreed in advance about how to pass messages between the computer vision and the arm, so the integration itself went fairly well. We evaluated the system by playing multiple games on it against ourselves, and the system was mostly successful, with only very minor issues. Our final and successful full round of the whole game with the fully-integrated robot took about 20 minutes to complete, with the winner being the robot.
Findings
During our multiple runs, we found various problems of the system. We made corresponding adjustments to each problems as listed below:
- Lifting the board a little bit near the arm helped to account for the sagging the arm experienced due to the heavy end effector and non-rigid linkages.
- We found that as the robot link moves side . We solved this issue by putting paper boxes below the base link. This prevents the robot arm from tilting down a small angle towards the ground which causes the arm to lose accuracy. This also prevents the servo motors from failing from being applied a huge torque at the left or right position.
- During the actual run after we taped every piece to blue, the computer vision could not actually separate black pieces from white pieces. So we switched the blue tape of white pieces to yellow tapes. At our final full round, about 20% of the moves required some level of human corrections. All the human corrections were slight movements, i.e. small tapping of the piece so it is in the middle of the cell. This deviation is mainly caused by deviation of the hardware structure and setup. So overall from a software and control perspective, DeeperBlue is pretty accurate and robust!
Future Directions
- A better camera with a better dynamic range would help significantly to normalize the lighting, avoiding extreme sunlight/reflection issues. Another alternative solution would be to attach a filter to the current camera that we have, but we were unable to come up with a safe way to mount one in time, and they can be fairly expensive.
- Upgrading to more rigid links and a lighter weight linear actuator would help significantly with the sagging that our arm experienced.
- Removing the rotational joint that is currently inactive at the base of the arm with a rigid mounting bracket would reduce the overall load on the system significantly and allow us to remove our bracing (the boxes that we have stacked underneath the joint).
- We may be able to reduce the number of links, and therefore the weight, if we were to make significantly longer links between the servo motors.
- Being able to play either white or black is not something that we currently support, but it is something we would like to implement.
- Being able to “reverse” a game and try different moves out would be a good addition, especially for trying to get better at the game.
